by IGC Admin
Share
by IGC Admin
Share

It is native to Southern China and used to be called Chinese gooseberry until the New Zealand farmers decided to exploit it and popularized the name worldwide with their lucrative exports of the hairy brown fruit.
Kiwi fruit are surprisingly easy to grow if a few simple rules are followed; the fruit is not only delicious but very nutritious, high in Vitamin C and digestive enzymes.
The variety Dexter has been known to bear up to 50 fruit within eighteen months of planting. Some varieties such as Hayward take about four years to start bearing; Bruno variety will bear in two years.
The Kiwi fruit is not bisexual. Female plants bear fruit and a male plant has to be present to supply pollen for pollination of the female flowers. One male plant is enough for six or seven females provided bees are present. They begin bearing fruit in May (or early winter) on the North Coast of N.S.W and will hang on the vines for many weeks if not picked.
Suggestions how to grow
It is vital that Kiwi fruit are both trained and pruned often during the first two years and at least twice a year there after. First, it is necessary to have a trellis. The overhead T-bar type has proved to be the easiest to manage. This should be 2 metres high with a T-bar about 1.5 metres wide. Four or five wires (fencing wire) should be strained along the trellis top laying on the T-bars. Vines are planted 4 metres apart along trellis; these are trained straight up to the top as a single leader. They need tying up and checking on every week at this early stage because they grow so quickly. When the leader is within 10 centimetres of the wires it should be out off just above a bud, when the next flush starts select the two top shoots (these should be the strongest) and start these running in opposite directions along the middle wire. Any other shoots that come from lower down should be nipped off. One important point in the early training of Kiwi fruit is this: the vine will grow in “flushes”. These flushes start as very strong growths but after a while, say 1 metre of growth (can be less or more depending on the vigour and size of the vine), they begin to “peter out”. The growing end will become quite thin and it may start to wind itself tightly around the wire. At this point the shoot must be cut back to the last strong looking bud, After you do this the vine will have a rest for a couple of weeks, thicken up, then it will shoot out again with renewed vigour from that last bud. As you train these main leaders along the centre wire of your trellis you may get some lateral shoots from buds back along the leader. Leave these on and train them out at right angles until they reach the outside wire, then head them off. The vine may not be able to manage all of these until the second growing season. The overhead trellising system is not the only method but if Kiwis are not trained at all they will not bear fruit and they can easily turn an average back yard into an impenetrable jungle,
Maintenance
Once your main leaders have reached the required length, say 3 metres from the main trunk or until it meets another one coming from the next plant, head them off then concentrate on filling out your lateral system. Simply speaking, you should have a herringbone affair if looked at from above. The backbone is the main leaders running in a straight line along the centre of the trellis. The laterals should be roughly 1 metre apart spaced alternately and at right angles to main leaders and wires. These laterals will grow out across the wires and hang over the edge. At this point about half a metre over the edge they should be cut off. After two seasons your basic framework should be more or less filled. Subsequent pruning is less demanding. During spring, it is just a matter of tying down new shoots and laterals that shoot straight up vertically. It is important to do this only after the new shoot has hardened enough so that it does not break when you bend it down to tie it. In summer, cut off ends when they hang out over the edge of trellis. In winter, thinning in the form, removing any spindly or dead wood or shortening fruiting arms to about six good fat buds will suffice. Fruiting arms are any strong shoots that have arisen in the preceding summer. Many of these would have arisen from the fat fruiting buds of the previous spring and will have had fruit on their lower sections if vine is mature.
If grown properly, Kiwi fruit have the capacity to bear enormous quantities of superb fruit. They need full sun in summer but not so important in winter. They require well drained soil to avoid root rot. To grow two vines you need an area about 3 metres wide and 15 to 20 metres long.
In spring and summer Kiwi Fruit require fairly heavy applications of manure and water. First dose should be in September and this should be manure or complete fertilizer. They can be side dressed with strong nitrogenous fertilisers such as monthly until January. Fertilise using Dolomite once a year in winter for first three years. Water should be in plentiful supply in spring and summer.
It is safe to start picking in May provided the weather is dry. Do not pick during or within five days of rain. Dry sunny weather concentrates sugars in the fruit and wet weather does the opposite. Kiwi Fruit will keep for three months in refrigeration if put in soon after picking.
The best all round variety is ‘Dexter’ which was selected in the Coffs Harbor district. Male variety MATUA will pollinate all female varieties.
When planting, avoid:
1. Plant in heavy clay
2. Disturb the roots
3. Plant it deeper than it was in the pot
4. Put a stake through root system.
When planting, ensure you:
1. Water well before
2. Put plenty of cow manure, compost or rotted animal manure in and around the hole but not against stem of plant
3. Plant it close to an upright of your trellis or stake
4. Water in well
5. Spread 1 kg Dolomite on ground around plant
6. Mulch well but do not let mulch rest against stem of plant
Encouraging your plant to bear fruit:
The male vine should be trained in a similar fashion to the female but with much less attention to detail. Basically, just keep your male in close proximity to your females but keep it under control because the male can be even more vigorous than the female.
If a double-grafted vine is planted then ensure:
1. You know which part of the vine is the female and which part the male right from the start
2. Train them as separate vines in opposite directions from each other so that you don’t get them mixed up,
If one side of the vine refuses to grow vigorously keep the other side pruned back until its mate catches up. This can be a problem with double-grafted vines.
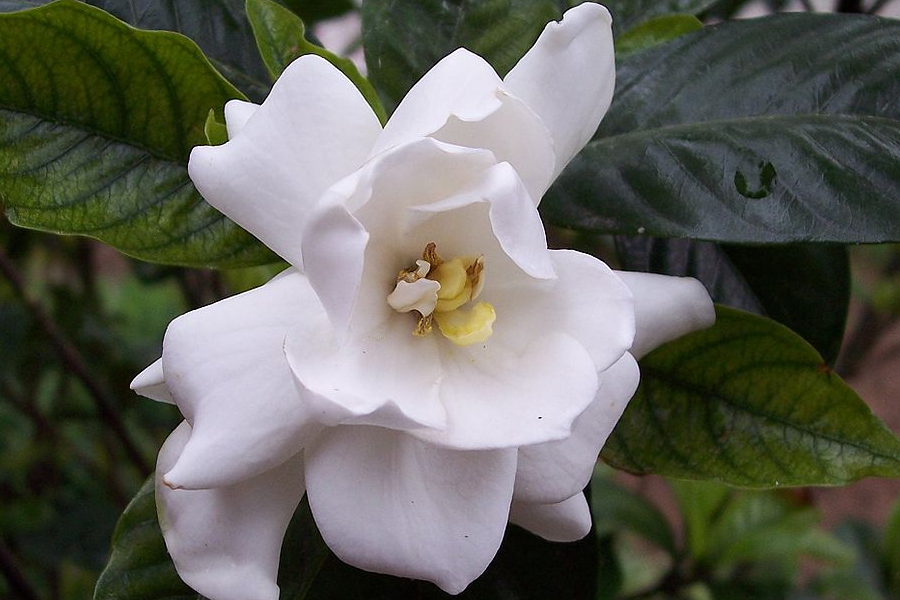
Gardenia are very popular and a much-loved shrub, which originated from China, but it's important to know how best to care for them.

The Rose has been called the “Queen of Flowers” and has been written about in poetry, songs, and love letters, more so than any other garden plant.

There is nothing more Australian than a great Aussie 6pack….of herbs